prickly pear cactus where to buy Buy Indian Fig Prickly Pear Phoenix, AZ | Opuntia
SKU: 6880849212
prickly pear cactus where to buy

prickly pear cactus where to buy Buy Indian Fig Prickly Pear Phoenix, AZ | Opuntia

Sale price$26.51 Regular price$29.46
Save 10%

Shipping Estimate
USA
  • USA
  • CAN

Ships within 48 hours · Estimated delivery Jul 7 - Jul 12

Promo Codes Available:

For Your Every Summer RSVP, with Code: SUMMER15

Description

prickly pear cactus where to buy Buy Indian Fig Prickly Pear Phoenix, AZ | OpuntiaPhoenix's Best Edible Cactus Grow Delicious Prickly Pear Fruit in Your Own Yard Indian Fig Prickly Pear (Opuntia ficus indica) is the world's most cultivated edible cactus and it thrives in the Phoenix Valley like nowhere else. This impressive species produces large, smooth pads (nopales) prized in Mexican and Southwestern cuisine, plus abundant sweet purple or red fruit (tunas) that can be eaten fresh, juiced, or made into jams and syrups. Beyond its

Phoenix's Best Edible Cactus — Grow Delicious Prickly Pear Fruit in Your Own Yard

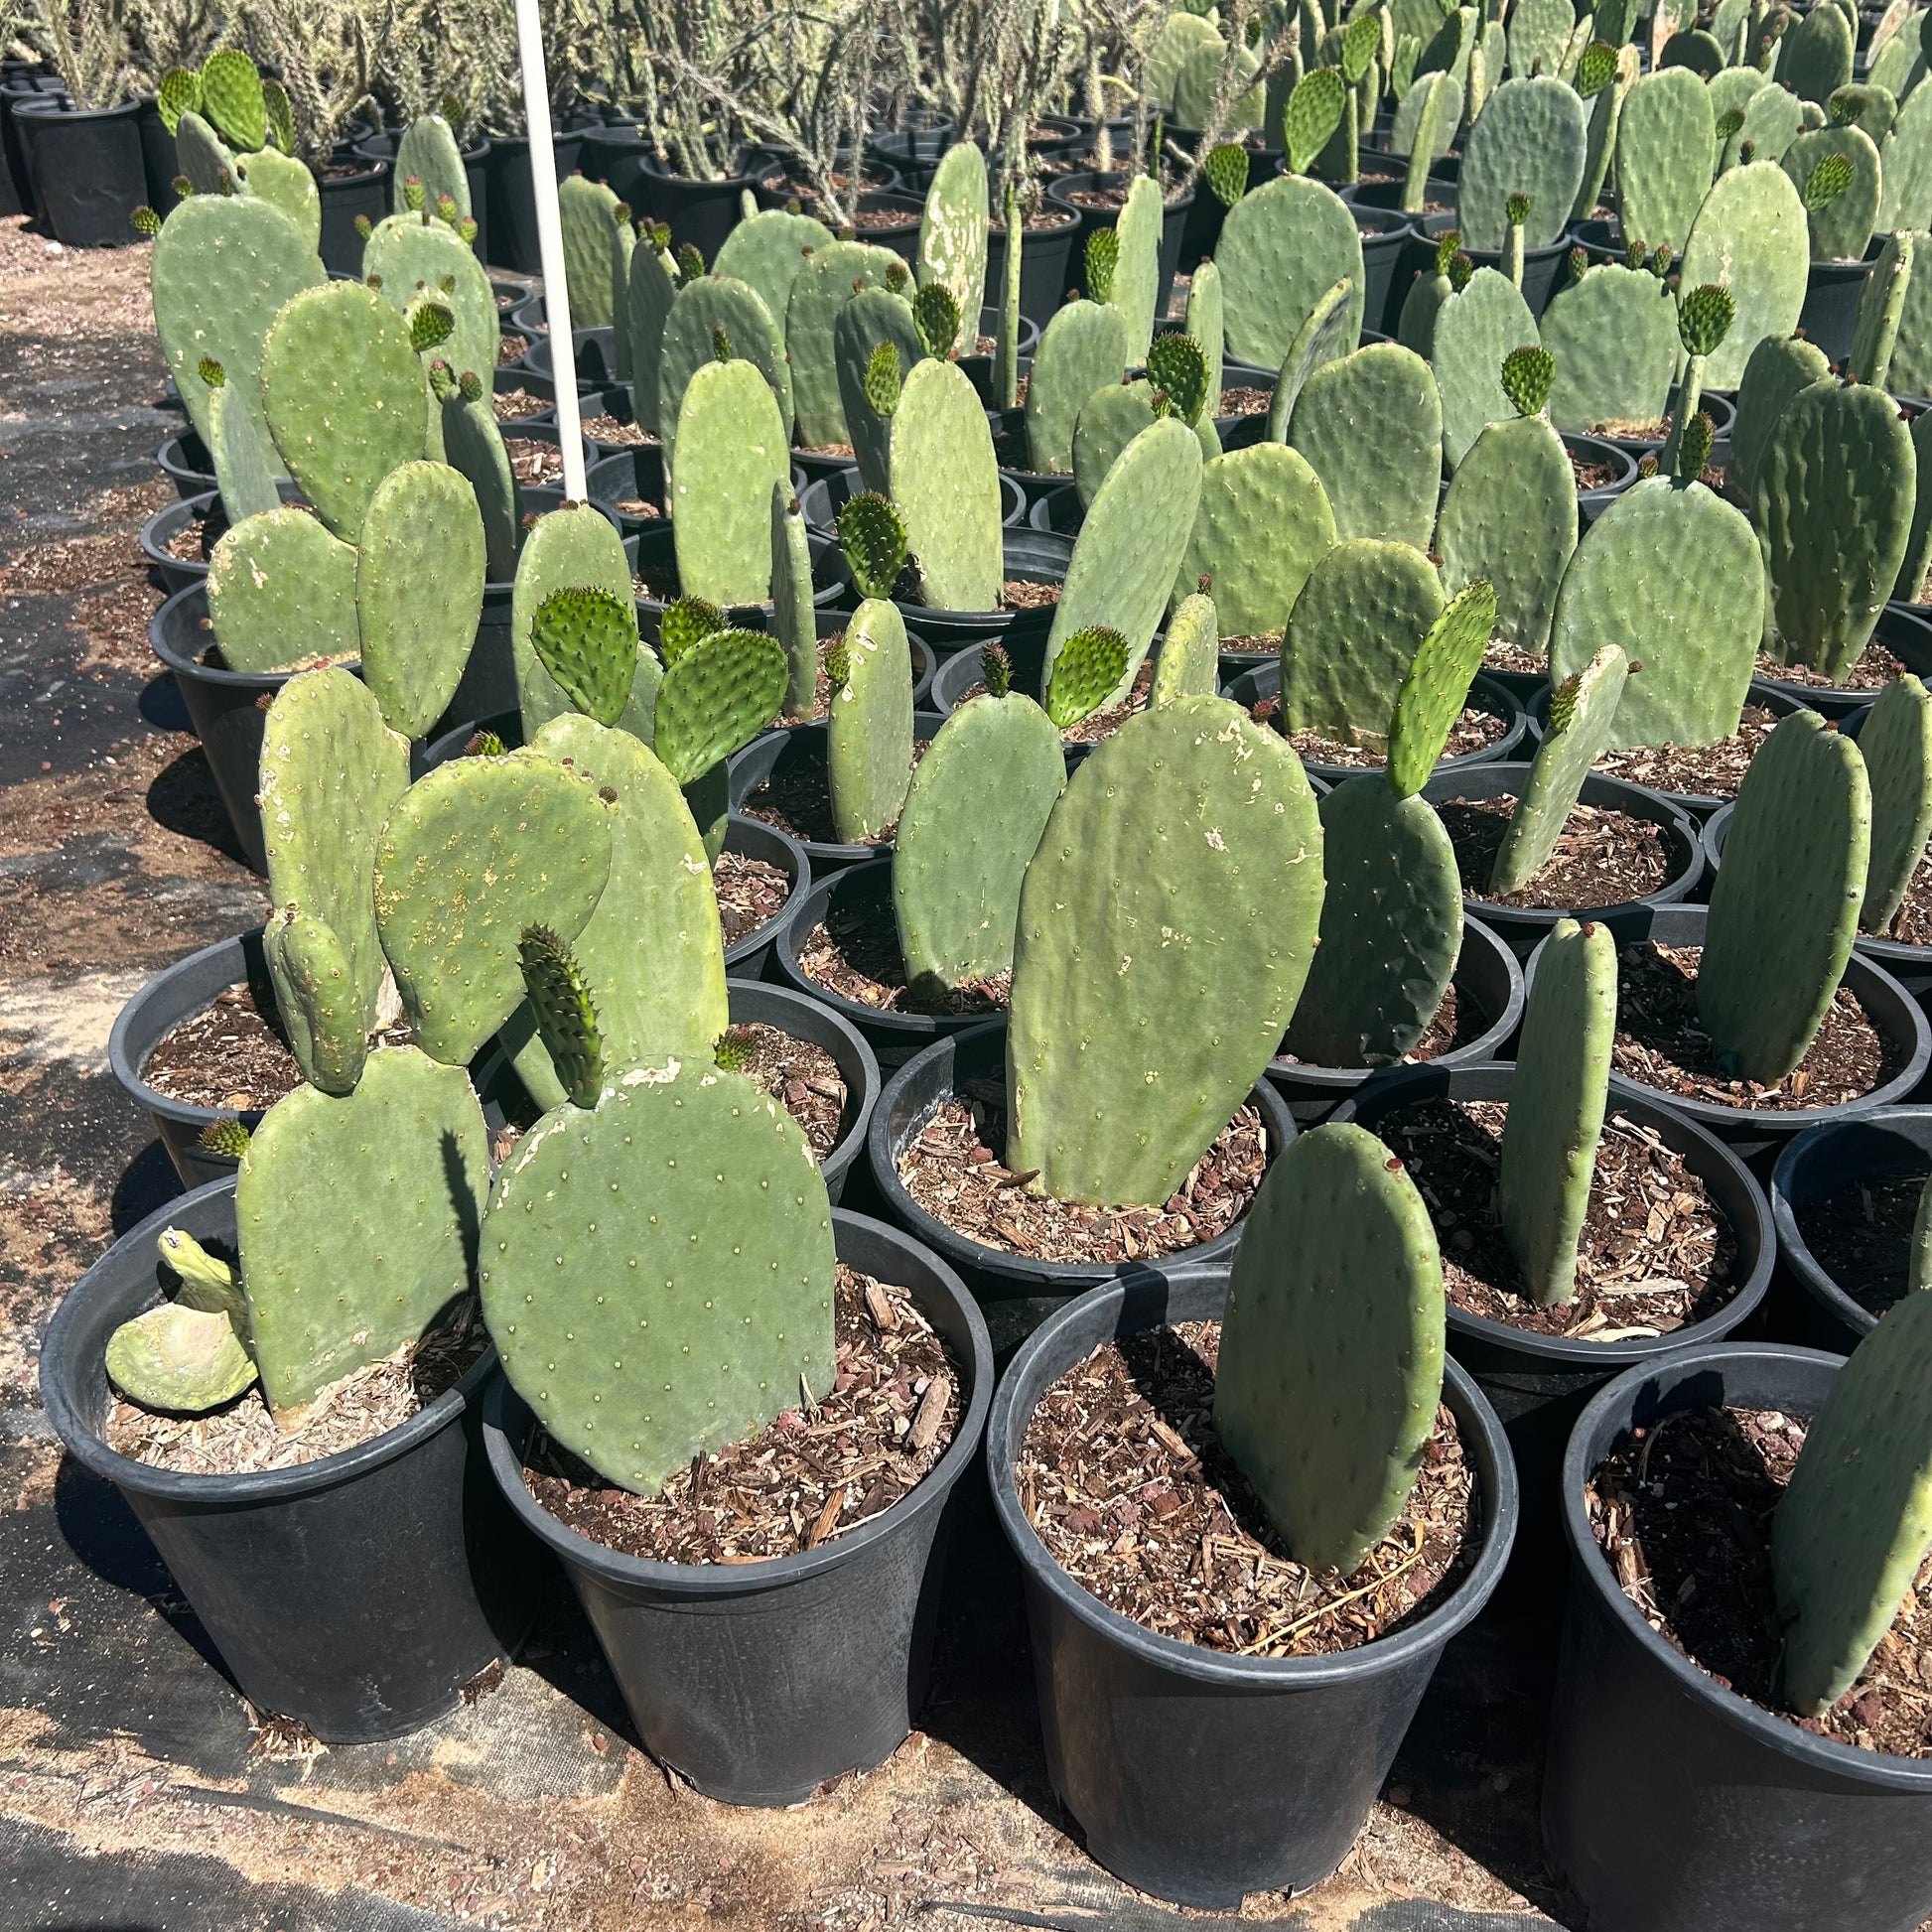
Indian Fig Prickly Pear (Opuntia ficus-indica) is the world's most cultivated edible cactus — and it thrives in the Phoenix Valley like nowhere else. This impressive species produces large, smooth pads (nopales) prized in Mexican and Southwestern cuisine, plus abundant sweet purple or red fruit (tunas) that can be eaten fresh, juiced, or made into jams and syrups. Beyond its culinary value, Indian Fig is a striking landscape plant that grows into a dramatic tree-like form reaching 10–15 feet tall. Extremely drought-tolerant and heat-loving, it handles the worst Phoenix summers without flinching. Whether you're building an edible landscape in Scottsdale, creating a dramatic desert focal point in Gilbert, or growing your own prickly pear fruit in Mesa — Indian Fig Prickly Pear is the ultimate dual-purpose desert plant.

Indian Fig Prickly Pear Plant Details

Attribute Detail
Scientific Name Opuntia ficus-indica
Common Names Indian Fig Prickly Pear, Mission Cactus, Nopal, Tuna Cactus
Mature Height 10–15 feet
Mature Width 8–12 feet
Growth Rate Fast — 3–5 new pads per season in Phoenix
Sun Full sun (6+ hrs). Handles reflected heat from walls and pavement.
Water Very low once established. Highly drought-tolerant.
USDA Zones 8–11 (Phoenix is Zone 9b–10a)
Soil Well-draining. Adapts to Arizona caliche and rocky soils.
Foliage Evergreen — large bright green pads year-round
Fruit Abundant purple-red tunas in late summer; sweet and edible

Indian Fig Prickly Pear Uses in Phoenix Landscapes

Edible Landscape & Food Gardens

Indian Fig is the premier edible cactus for Phoenix home gardens. Both the pads and fruit are harvested and eaten worldwide. Plant one near the kitchen garden for easy access to fresh nopales (pads) and tunas (fruit). A single mature plant produces dozens of fruits per season — enough for the whole family plus neighbors.

Dramatic Architectural Focal Point

At 10–15 feet tall, a mature Indian Fig Prickly Pear creates an unforgettable statement in any landscape. Its tree-like trunk and massive paddle-shaped pads provide bold architectural form that anchors a desert garden. Use it as a standalone specimen in a decomposed granite bed surrounded by boulders and lower accent plants like Agave and Desert Marigold.

Privacy Screen & Living Fence

Plant Indian Fig 6–8 feet apart along a property line for a living desert fence that grows dense and tall. The thick pads create an effective visual and physical barrier. For a 30-foot fence line, plant 4–5 plants. Combine with other large desert plants for a layered, natural-looking screen.

Xeriscaping & Water-Wise Landscapes

Indian Fig is a top pick for Tempe, Chandler, and Peoria homeowners wanting dramatic scale without high water bills. Once established, it needs almost no supplemental irrigation. Its bold form pairs well with other drought-tolerant plants for a landscape that looks lush year-round on minimal water.

Best Time to Plant Indian Fig Prickly Pear in Phoenix

Fall (October–November) is ideal — warm soil promotes fast root growth while cooler air reduces transplant stress. Indian Fig gets 6–8 months of establishment before its first Phoenix summer. Spring (February–April) is the second-best window. Avoid summer planting for best results.

How to Plant Indian Fig Prickly Pear

  1. Dig wide, not deep — 2–3x the root ball width, same depth as the container.
  2. Check for caliche — break through any hardpan layer to ensure drainage.
  3. Backfill with native soil — a light 20% compost blend is fine for Indian Fig.
  4. Spacing — 6–8 feet apart for a hedge; 10+ feet for individual specimens.
  5. Water basin — build a 4–5 inch ring around the plant to direct water to roots.
  6. Mulch — 2–3 inches of gravel or decomposed granite around the base.

Watering Indian Fig Prickly Pear in Phoenix

First Year Watering Schedule

  • Weeks 1–2: Every 2–3 days, deep and slow
  • Month 1–3: Every 5–7 days
  • Month 3–6: Every 7–10 days (every 5 days in peak summer)
  • After Year 1: Every 10–14 days in summer; monthly in winter

Drip Irrigation

Place two 2-GPH emitters 24–36 inches from the trunk on opposite sides. Established Indian Fig is very drought-tolerant but will produce more fruit with occasional deep watering during the summer fruiting season.

Can you eat Indian Fig Prickly Pear fruit?
Absolutely. The purple-red tunas are sweet and delicious eaten fresh, juiced, or made into jams, syrups, and candy. The young pads (nopales) can be grilled, sauteed, or added to salads and are a staple in Mexican cuisine.

How fast does Indian Fig grow in Phoenix?
Very fast. Expect 3–5 new pads per growing season. A 5-gallon plant can reach 6–8 feet tall in just 3–4 years in Phoenix conditions with good care.

How big does Indian Fig Prickly Pear get?
Indian Fig is one of the largest prickly pear species. In Phoenix, it commonly reaches 10–15 feet tall and 8–12 feet wide, developing a tree-like trunk over time.

Does Indian Fig handle Phoenix summer heat?
Yes. Indian Fig is native to hot, arid climates and thrives in full sun, reflected heat, and 115°F+ temperatures. No shade protection needed.

Is Indian Fig Prickly Pear the same as Nopal?
Yes. "Nopal" is the Spanish name for the edible prickly pear cactus, and Opuntia ficus-indica is the most commonly cultivated species for food production worldwide.

You May Also Like

  • Spineless Prickly Pear — Another nearly thornless variety; great for pool areas and high-traffic spots.
  • Giant Prickly Pear — Massive native prickly pear for bold landscape statements.
  • Engelmann's Prickly Pear — Classic Arizona native with yellow blooms and wildlife value.
  • Purple Prickly Pear — Vibrant purple pads for dramatic color contrast in desert gardens.
  • Beavertail Prickly Pear — Low-growing native with stunning magenta spring blooms.

How Many Indian Fig Prickly Pear Do I Need?

This is a fast, tree-form prickly pear that reaches 8 to 12 feet wide, so for a living fence or screen space plants about 7 feet on center. As a single edible specimen, give it 10 feet of clearance and keep the spiny pads at least 6 feet back from walkways, pools, and play areas.

Run length Plants needed (7 ft centers)
14 ft 3 plants
21 ft 4 plants
30 ft fence line 5 plants
42 ft 7 plants

Indian Fig Prickly Pear Season-by-Season in Phoenix

  • Spring (Feb to Apr): New pad growth flushes and yellow to orange flowers open along the pad edges, drawing bees. Strong second window to plant before the heat.
  • Summer (May to Sep): Loves full sun and reflected heat with no shade needed, even past 115°F. Tunas color up and ripen through late summer; the monsoon and an occasional deep soak boost fruit size and yield.
  • Fall (Oct to Nov): Prime planting season and main harvest window for sweet purple-red tunas. Warm soil and cool air give 6 to 8 months of root establishment before next summer.
  • Winter (Dec to Jan): Evergreen pads hold through winter. One of the more cold-hardy prickly pears, taking brief dips to around 15°F, though tender young pads can show edge damage on a hard freeze.

At a Glance

✔ Heat-Loving (Reflected-Heat Tolerant)   ✔ Drought-Tolerant   ✔ Edible   ✔ Pollinator-Friendly   ✔ Evergreen   ✔ Low-Maintenance   ✔ Fire-Wise   ✔ Cold-Hardy to 15°F

Plant It With

Is Indian Fig Prickly Pear Right for Your Yard?

It thrives in full sun and reflected heat, fast-draining native or caliche soil, and an open spot with room to reach 10 to 15 feet tall, making it ideal for edible landscapes, bold focal points, and living fences. It is hardy to about 15°F and needs almost no water once established. Not a fit if you want a low-litter, spine-free planting near a pool, patio, or busy path, since the pads carry sharp spines and fine glochids and the plant gets large.

Shipping Notes
  • Free Standard Shipping on $100+ Orders to the USA.
  • Except Preorder products are shipped in 48 hours.
  • Delivery to the USA:
  1. Standard Shipping : 3-10 business days
  • If time is of the essence, please consider selecting expedited delivery for faster service.
Exchange/Return Notes
  • We offer a 30-day return/exchange service after receiving.
  • Final sale items are not eligible for returns or exchanges.
  • To process your return/exchange, please contact us at [email protected]
  • Please click here for more details>>> Return & Exchange Policy
SKU: 6880849212

Discover Niche Categories That Outsell prickly pear cactus where to buy

Top-Converting Item to Boost Your Average Order

4.2 ★★★★★
Based on 1554 reviews
Sort
Highest Rating
Newest First
Oldest First
Product Reviews
E
Verified Purchase
Eric J. Jenislawski
Charlottesville, US
★★★★★ 5
Great result, exceptional value, and easy, forgiving application.
Size: TRIM COAT KIT
I am thoroughly pleased with the results of this product, and the application was easier than I expected. Outstanding stuff. I am writing a longer review in case it helps people who are unsure about a "once and done" product that calls itself permanent. It's not hard to apply. It is forgiving and there's time to even it out. But here are some things to anticipate. My use case: I used Cerakote to restore the plastic trim on a used 2014 black Dodge Challenger that had been repainted but the plastic trim was original and it had been kept outside by the prior owner, so the contrast between the new paint and faded trim was noticeable. The trim was originally a deep, dark gray (it is never as black as the paint). It had faded to a medium-gray in many places: running boards on the side beneath the door, below the read bumper (which were also somewhat worn from debris), around the tail lights, and the plastic piece beneath the windshield wipers between the windshield and the hood. These were all looking weathered. The trim was very oxidized in some places, chalky grey near the hood and around the back bumper. The plastic around the tail lights also had light streaks in it from where water drains down from the trunk. What else I tried before I tried Cerakote: I got middling results from Mother's Back to Black. It looked somewhat better for a week or two, and then it went back to looking as before. Not impressed. I got a tip online to try rubbing the plastic trim with a melamine magic eraser, so I did that next, and this made a significant difference. Melamine is abrasive, so be careful if you do this on your trim. I went gently, up-and-down, side-to-side and in small circles, by hand, with gentle pressure like one would with a polishing compound. By removing the oxidation, the plastic was a few shades darker in the worst spots and the streaking on the rear tail light piece was gone. The rough spots on the trim at the bottom of the car and around the wheels looked somewhat better. But it certainly did not "like new." Cerakote experience: I decided to give Cerakote a try based on the video and good reviews. Bam! Back to factory-like deep dark gray. I wish I had taken pictures. It's incredible. Fully satisfied! I had already washed the trim with Dawn dish soap. I started with the trim bone dry. You are warned everywhere that water droplets will ruin the result, so don't expect to do this process right after you wash the car unless you like to live dangerously and have compressed air to spray cracks and crevices. I was worried that application would be streaky if I didn't do it right. Not so. It is forgiving. Here's what I learned. 1) The first 20% of what you'll get out of the packet goes on heavy with the lightest touch. One packet goes a long way. The next 60% is the "normal" application. This goes on the easiest. You can really milk the last drop out of each towelette, but I didn't because the last 20% of what you can get out of it by rubbing it really hard comes out very light and is not worth the uneven application unless you have some random area you don't care much about and want to use the remainder for that. I only used 5 packets to do the whole car. When you start a new packet, the beginning is where you might want to go back later and even it out once the application gets more normal. Or better, start a new packet on a big section to spread it around well and then move to smaller trim when the towelette is less fresh. 2) You've got time to work with it and make corrections. It stayed liquid like water for at least 20 minutes in my conditions: about 80 degrees, not very humid, indirect sunlight on an 80 degree car. Don't apply in direct sun or on a hot car. The product then gets sticky as it cures, but you can still work with it during the sticky time, rubbing it in and spreading it evenly with the towelette. I did not use a microfiber to "knock down" heavy spots. I just came back around with the towelette. I think a dry microfiber might pull off too much product. When it is half-cured, it is sticky and you can buff it with the towelette at this stage to further flatten and even things out. Work in sections, one piece of trim at a time. 3) Overlaps won't show as long as you rub it all in thoroughly. I tried the overlapping parallel passes method that they recommend, and this works pretty well. I was worried that I might get a "double heavy" streak where the passes overlap but this not so unless the towelette is fresh, but this is fixable. You can do a pretty natural, casual back-and-forth motion for the most part and it comes out fine. This is NOT a super-finicky product. I made a second or third back-and-forth pass in a few areas, and used circular motion in some places where the trim was textured or a little rough from wear, and it all looked even in the end. Just rub it down into the plastic and even out the sheen while it is uncured and it's good. 4) It cures like you see it when it's still wet. It doesn't lighten up very much as it cures. It just looks a little less wet. So get it right by eye when it is wet and that's pretty much what you will still have in an hour when it is cured. 5) Don't miss a spot! You'll see it for sure if you do because the different is so dramatic. And a "second coat" is not easy or recommended. This is the only once-and-done part that you want to get right, and you have plenty of cure time to be thorough. 6) Use the folded corner of the towelette to get into small corners and edges, like where the trim meets the paint or has an inside corner or some little nook. A fresh towelette is great for getting into small areas because a feather touch applies plenty of product when the towelette is fresh. The trim now looks amazing and I am entirely satisfied. I will use Cerakote on my other vehicles. The only minor con is a strong ammonia smell when you are up close to it while it is wet. No smell once it is cured. I would definitely wear the recommended gloves while applying. As others say, you will probably drop that towelette on the ground. It's slippery when wet. Keep it folded in quarters as it comes for ease of application. Turn to a new quarter once a side gets dirty or dry and fold it inside out for four more quarters to use. Bonus, but off-label -- at your own risk: The product is not intended for the soft rubber around the windows, but I tried it there too, and it looks amazing. All I did was wash the rubber with dish soap like the trim, and I rubbed it a few times with a wet microfiber cloth to get the superficial layer of oxidized rubber off. Then I applied Cerakote. It looks great. The rubber used to be blotchy and faded. The microfiber evened this out a little. I would not use melamine on the rubber -- this made it look worse in a test section. The Cerakote made it look great: jet black, much shiner, and much more even looking. Not quite "brand new" but far better than I thought possible. I thought I might need to replace the rubber. Now it's looking great next to the jet-black new paint. This afterthought use alone was worth the money. Can you apply a second coat the next day? They don't say you can, and I don't recommend it. This is meant to be one-shot, which is why you should check to make sure you don't miss any spots. I had two areas where I tried a second coat the next day. The first was on the plastic trim between the windshield and the hood. I didn't rub this trim much with melamine beforehand so there was a lighter area (light grey originally, the worst spot) that didn't get as black as the other sections so I did it again, which helped a little, but not much. I didn't wash this area with soap beforehand because I wasn't intending to fix it until I got going. Once you put things back to black you will start noticing other faded things more. Likewise, I did a second coat on the very top of the soft rubber at the bottom of the windows (the part which faces upward and thus gets the most sun), it wasn't as shiny as the other parts, so I went over that section gently again the next day with a fresh towelette. As soon as I did it, I thought it was a mistake. This didn't go well initially because the cured coating is very hydrophobic so the new, wet, Cerakote of the second coat goes on smooth initially and then "puddles up" into little droplets a few minutes later. It doesn't want to stick to the first coat. I thought I had messed it up, but I let it cure a little until the sticky phase, and spread it out again with the towelette. It stayed that time but gathered back a little into some streaks. I spread it once more a few minutes later and it looked good. It stayed even. It looks just fine a few days later, so I think it cured OK. I hope this product last for months as advertised. Even if it doesn't I would totally do it again because the results are superior, I still have half my towelettes left, and the product is not expensive. 10/10 would do again and will recommend to everyone.
WAS THIS REVIEW HELPFUL?YesReportShare
Reviewed in the United States on June 25, 2025
R
Verified Purchase
Robert Barger
Whiting, US
★★★★★ 5
Easy to use, amazing results
Size: TRIM COAT KIT
This is an awesome product that is easy to use and has amazing results. My plastic trim never looked so good.
WAS THIS REVIEW HELPFUL?YesReportShare
Reviewed in the United States on May 14, 2026
N
Verified Purchase
NorthFloridaLT
Massapequa, US
★★★★★ 5
Made My Bumper Look Brand New Again
Size: TRIM COAT KIT, Size: TRIM COAT KIT
I used this on the plastic trim and bumper on my truck, and I’m honestly impressed with how it turned out. The faded areas came back to a deep, rich black and really cleaned up the whole look of the rear end. I prepped everything the right way by washing it first with an all purpose cleaner, then wiping it down with 91% alcohol. I also taped off the surrounding paint and chrome just to be safe. After that, the application was simple and went on smooth without any streaks or blotchy spots. The difference was immediate. What used to look dull and worn now looks factory-fresh again. It also seems to bond well and not just sit on the surface like some cheaper products I’ve tried before. Overall, this was easy to use, gave great results, and made a noticeable improvement. I would definitely use it again on other trim pieces.
WAS THIS REVIEW HELPFUL?YesReportShare
Reviewed in the United States on April 12, 2026
E
Verified Purchase
E N.
Phoenix, US
★★★★★ 4
Good product
Size: TRIM COAT KIT
Good coverage. I've had it on for about 10 days, and it's holding up better than any spray product I've used. Not perfect, but none of those streak lines you get with other products. It's been rained on twice so far.
WAS THIS REVIEW HELPFUL?YesReportShare
Reviewed in the United States on May 8, 2026
E
Verified Purchase
ernieupton
Chelsea, US
★★★★★ 5
good product and value
Size: TRIM COAT KIT
worked great on the 10yr old outback. Lasted several months..until we traded it in for a new outback.. will find something else to use it on...!
WAS THIS REVIEW HELPFUL?YesReportShare
Reviewed in the United States on May 20, 2026

recommand products