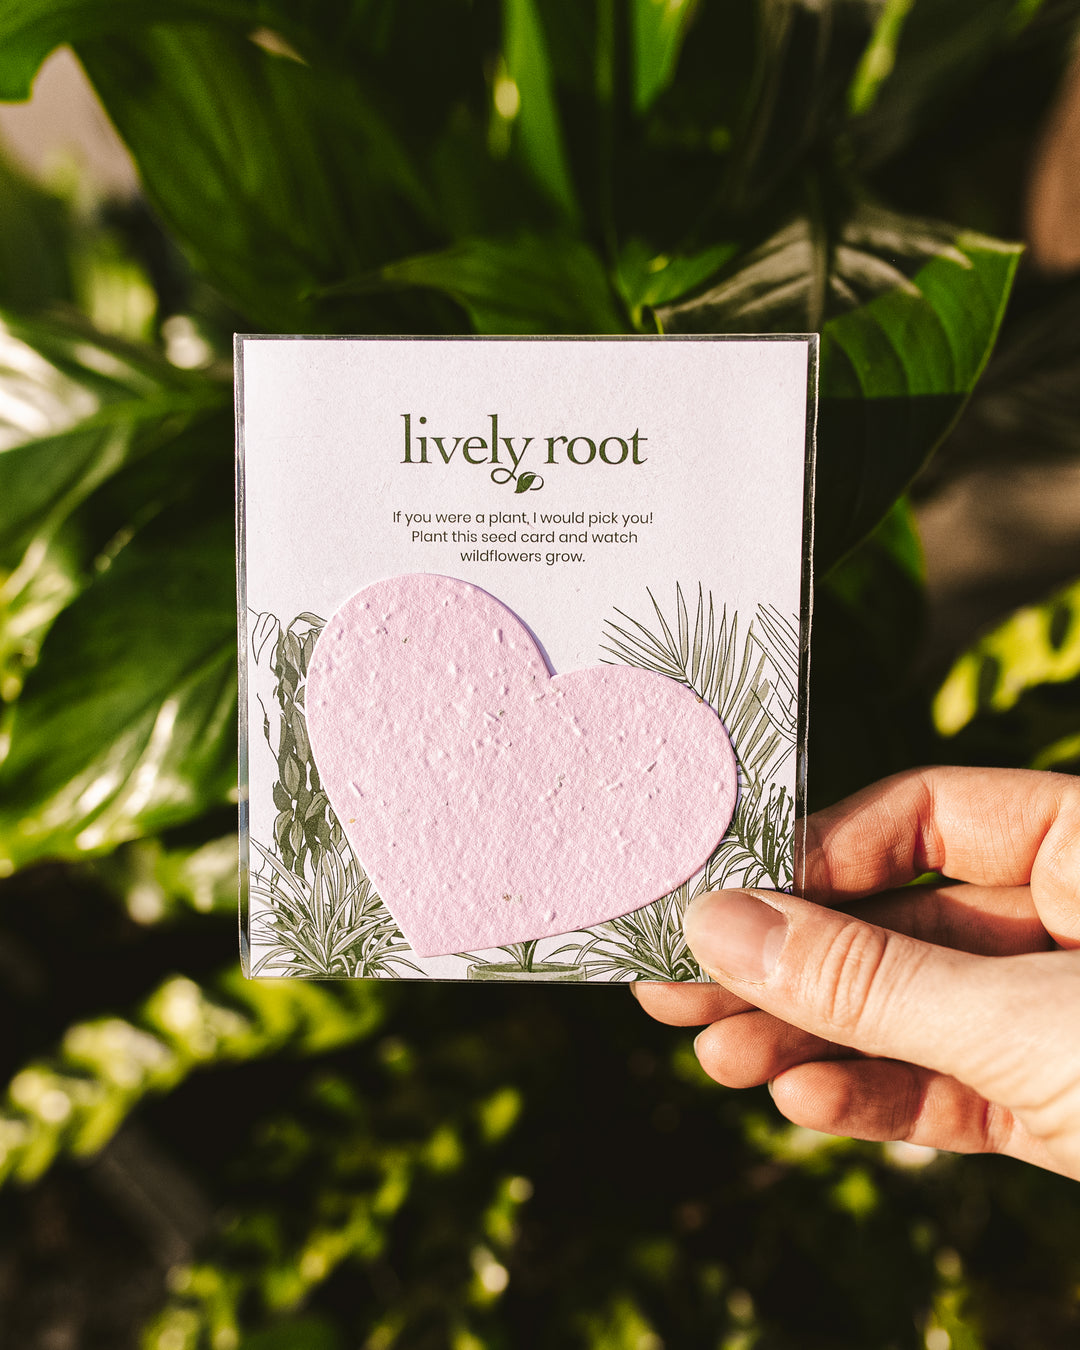
paper wildflower seeds Wildflower Seed Paper Note Card I'd Pick You!
SKU: 37134095144
paper wildflower seeds

paper wildflower seeds Wildflower Seed Paper Note Card I'd Pick You!

Sale price$21.38 Regular price$23.75
Save 10%

Shipping Estimate
USA
  • USA
  • CAN

Ships within 48 hours · Estimated delivery Jul 9 - Jul 14

Promo Codes Available:

For Your Every Summer RSVP, with Code: SUMMER15

Description

paper wildflower seeds Wildflower Seed Paper Note Card I'd Pick You!Give them the card they have been waiting for the one that sprouts with love for life! Wildflower Seed Paper Cards use a biodegradable eco paper that is made with post consumer materials (no trees harmed for this paper!) and embedded with seeds. When the paper is planted in a pot of soil, the seeds grow and the paper composts away. All that is left behind is flowers, herbs or vegetables, and no waste. It's easy to plant and grow! Packed In corn based

Give them the card they have been waiting for - the one that sprouts with love for life!
Wildflower Seed Paper Cards use a biodegradable eco-paper that is made with post-consumer materials (no trees harmed for this paper!) and embedded with seeds. When the paper is planted in a pot of soil, the seeds grow and the paper composts away. All that is left behind is flowers, herbs or vegetables, and no waste. It's easy to plant and grow!

Packed In corn-based cello bag for our true love- the environment <3

Here are the seed types in the wildflower blend:

  • Bird's Eye – Annual
  • Clarkia – Annual
  • Black Eyed Susan – Perennial
  • Catchfly – Annual
  • Snapdragon – Annual
  • Sweet Alyssum – Annual

How To Plant Your Wildflower Seed Paper Card:

  1. Prepare your Pot

    Fill your pot 2/3 full with good potting soil. Tamp down the soil and add more if necessary. You want the pot to be firmly full, but not packed. The paper can be planted indoors or outside, so you get to choose according to the temperature and conditions at the time of planting (we don't recommend planting outside if it's blizzarding or desert-hot!).

  2. Plant The Paper

    Take your plantable paper and cover the soil in the prepared pot with the paper. It's okay if the paper overlaps. Spread a 1/8 inch layer of soil over the plantable paper pieces and tamp down gently on top.

  3. Water during Germinaation

    After planting the paper in your pot, give it a good soak. You want the paper and the soil to be nicely damp but not swimming in water. During the first 10 days, keep the paper moist at all times.

  4. Care After Germination<

    Once sprouts appear, continue to keep the paper moist but be careful not to overwater. Once sturdy plants appear, water as needed. The images below are what the pot looks like after planting a greeting card.

Shipping Notes
  • Free Standard Shipping on $100+ Orders to the USA.
  • Except Preorder products are shipped in 48 hours.
  • Delivery to the USA:
  1. Standard Shipping : 3-10 business days
  • If time is of the essence, please consider selecting expedited delivery for faster service.
Exchange/Return Notes
  • We offer a 30-day return/exchange service after receiving.
  • Final sale items are not eligible for returns or exchanges.
  • To process your return/exchange, please contact us at [email protected]
  • Please click here for more details>>> Return & Exchange Policy
SKU: 37134095144

Discover Niche Categories That Outsell paper wildflower seeds

Top-Converting Item to Boost Your Average Order

4.9 ★★★★★
Based on 2016 reviews
Sort
Highest Rating
Newest First
Oldest First
Product Reviews
B
Verified Purchase
Buyer
Bozeman, US
★★★★★ 5
Great product
Color: 14AWG-2 Lead
A lot cheaper than getting wire, a relay, connectors, fuse, etc. Great durability, like the extra coating over the wires. Mounted the relays in a spot where they get totally soaked. They were sitting in water when I tested them out they works great so I’d say water resistant is an understatement. Overall great product.
WAS THIS REVIEW HELPFUL?YesReportShare
Reviewed in the United States on October 24, 2022
A
Verified Purchase
Amazon Customer
Houston, US
★★★★★ 5
Makes wiring lights faster and cleaner
Color: 14AWG-2 Lead
Harness is well insulated and much easier to use than running wires separately. I’ve installed 2 kits and they work well. Greatly simplifies wiring auxiliary lights on a vehicle.
WAS THIS REVIEW HELPFUL?YesReportShare
Reviewed in the United States on August 13, 2023
M
Verified Purchase
mark Vonderwerth
Draper, US
★★★★★ 5
Great
Color: 14AWG-2 Lead
Good quality and affordable
WAS THIS REVIEW HELPFUL?YesReportShare
Reviewed in the United States on October 30, 2024
K
Verified Purchase
K. Fleetwood
Draper, US
★★★★★ 4
Got me hooked UP!
Color: 14AWG-2 Lead, Color: 14AWG-2 Lead
This harness was easy to use long enough to reach all my lights and got me lit up in about an hour only because I had to drill holes for my lights themselves. The harness was super easy to use super easy to tie strap up, so it wouldn’t be seeing or keep out of the way of moving parts
WAS THIS REVIEW HELPFUL?YesReportShare
Reviewed in the United States on October 21, 2024
M
Verified Purchase
MtnGoat
West Palm Beach, US
★★★★★ 5
Good value, nice kit, simple install if you are OK with auto wiring.
Color: 26Inch light White +Wiring Harness
This is my second purchase of this light system. It is a great value for the money. It is pretty darned bright. The wiring harness is complete and would make for an easy install as directed. I'm an EE, so I did some hacks on the system myself, I added some connections to the existing headlight circuit so I could slave the high beam switch to the light bar. Now the switch included with the system functions as an arming switch for the light bar, rather than a simple on/off function. Prior, to turn the bar on and off, you of course used the switch. Now, the bar is slaved to the high beams, so both bar and stock high beams come on using the stock light lever on the steering column, and bar and high beams turn off when you set the lever to low beams. This allows the bar to act as a complement to the high beams, and for you to control them with the high beam lever after arming the system to do so. Overall, a great setup and good product. This bar is installed on my 2000 Fourrunner, my first is installed on a 2003 E350 where I did the first high beam+light bar trick.
WAS THIS REVIEW HELPFUL?YesReportShare
Reviewed in the United States on January 20, 2026

recommand products