Shipping Estimate
USA
- USA
- CAN
- USA
- CAN
Ships within 48 hours · Estimated delivery Jul 11 - Jul 16
 Promo Codes Available:
For Your Every Summer RSVP, with Code: SUMMER15
Description
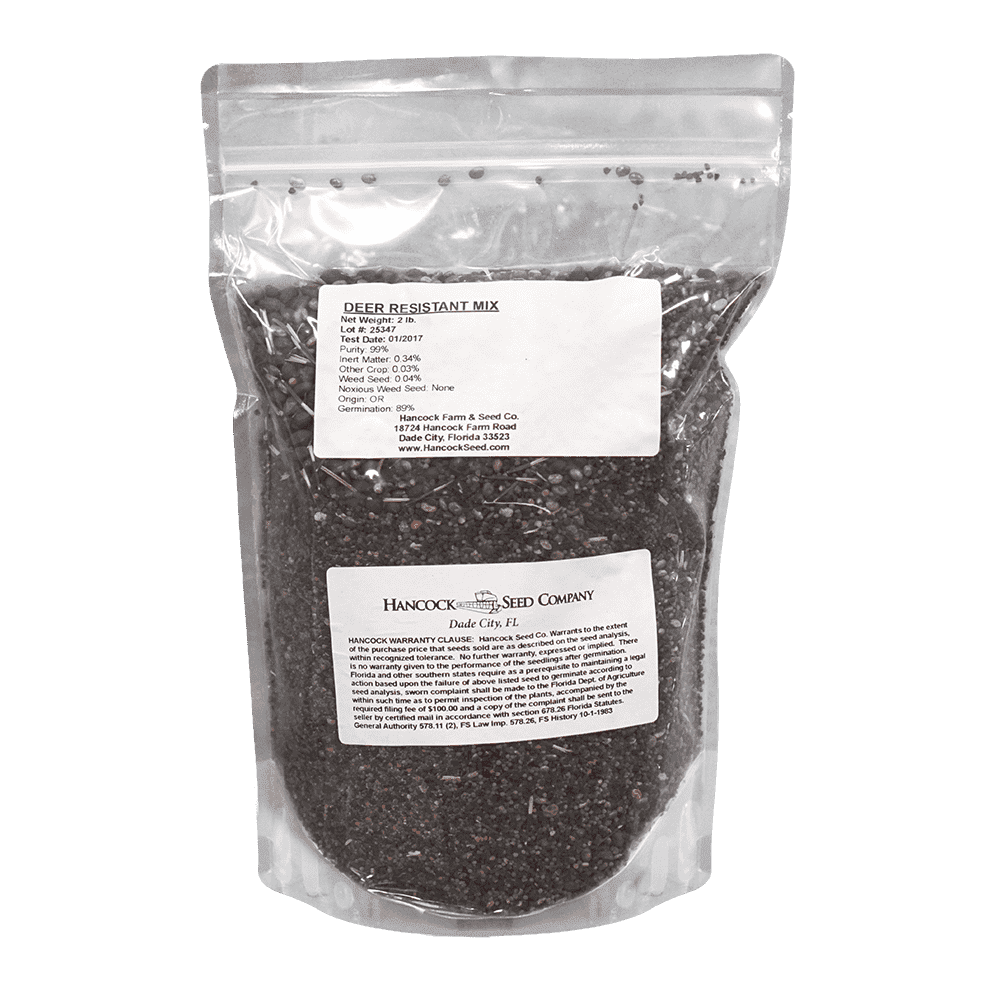
wildflower seeds deer resistant Buck-Off Deer Resistant Wildflower Seed Mix, 2 lbsDeer Resistant Wildflower Seed Mix is a blend of garden flowers and wildflowers that are known to be resistant to deer browsing. Keep in mind that if natural food supplies are low, or local populations of deer are dense, even these plants may be browsed by deer.~~~ Product Details: Deer Resistant Wildflower Seed Mix is a blend of garden flowers and wildflowers that are known to be resistant to deer browsing. Keep in mind that if natural food supplies
Deer Resistant Wildflower Seed Mix is a blend of garden flowers and wildflowers that are known to be resistant to deer browsing. Keep in mind that if natural food supplies are low, or local populations of deer are dense, even these plants may be browsed by deer.~~~
Product Details:
Deer Resistant Wildflower Seed Mix is a blend of garden flowers and wildflowers that are known to be resistant to deer browsing. Keep in mind that if natural food supplies are low, or local populations of deer are dense, even these plants may be browsed by deer.
Product Information
- Application or Use: Ornamental, Lawn, Cover Crop, Erosion Control
- Germination Time: 14 - 21 days, under optimal conditions
- Growing Locations: Warm Season, Transition Zone, Cool Season
- Height: 2 - 4 feet
- Sunlight Requirements: 8+ hours, full sun for best results
- Advantages: Blend of garden flowers and wildflowers that are known to be resistant to deer browsing.
- When to Plant: See Instructions Tab.
This mix is non-gmo.
Mix Contents:
- Rocket Larkspur
- Four O'Clocks
- Blue Flax
- Calendula
- Mixed Color Corn Poppy
- Russell Lupine
- California Poppy
- Sweet William
- French Marigold
- Lemon Mint
- Wild Bergamot
- Sweet Alyssum
This mix may vary depending on harvest and availability.
Product Information: Wildflowers can provide an excellent, low-cost alternative in large-scale, high-maintenance situations, as well as a satisfying change from traditional urban landscaping. However, during their initial establishment period, wildflowers require as much maintenance as traditional plantings. This mixture is a blend of annuals and perennials. The annuals germinate quickly when conditions are favorable which provides a quick ground cover and competition against weeds. Most perennial and biennial species being to bloom the second season. Therefore, you wildflower planting may look slightly different from the first year to the second year. *Product packaging may appear different than what is pictured.~~~
Wildflower Planting Time Based on Region:
Southeast
- Fall, Winter: Sowing wildflowers in Fall/Winter is the ideal time in the Southeast, with October 1 – December 31 being the best dates. The weather is ideal for starting seeds, and seedlings can grow and harden off before frost.
- Spring: A good time to plant wildflowers, especially annual species that flower quickly. Plant after the last frost date when soil temperatures have warmed to around 55°F, typically occurring within a month or so after the final frost of winter; this ensures the seeds can germinate properly without being affected by cold weather.
- Summer: You can plant wildflower seeds in the summer, but the hot sun can dry out the soil and stress your seedlings. Summer is a good time to plant quick-growing annual wildflowers.
Southwest
- Fall: A good time to plant spring wildflowers in the desert Southwest. Fall's cooler temperatures and seasonal rains help seeds germinate. In the mountains, you can plant after spring frosts.
- Winter: In areas that get snow, winter seeding can give seeds an advantage in the spring.
- Spring: A popular time to plant wildflowers in most states. You can plant after the last frost and when the soil temperature is at least 55°F. In warmer climates, you can plant at the end of the rainy season.
- Summer: You can plant wildflower seeds in the summer, but the hot sun can dry out the soil and stress your seedlings. Summer is a good time to plant quick-growing annual wildflowers.
Northeast
- Fall, Winter: The best time to plant wildflowers in the Northeast is in late fall, after the first frost but before heavy snow. This is known as dormant seeding and can take place from November to December. Cold temperatures and damp soil during the winter help wildflower seeds germinate.
- Spring: Plant in early spring, after the ground has thawed and soil temperatures reach around 55-65°F. This is a popular time to plant wildflowers because it's typically rainier, which helps water seedlings.
- Summer: You can plant wildflower seeds in the summer, but the hot sun can dry out the soil and stress your seedlings. Summer is a good time to plant quick-growing annual wildflowers.
Midwest
- Fall, Winter: Plant in late fall (November–December) after the first frost. The seeds will overwinter and germinate in the spring. Fall planting is a good option for cooler climates and can give the seeds an early start in the spring.
- Spring: Plant in early spring (April–May) after the last frost when the soil temperature is consistently above 55°F. Spring is a popular time to plant because the soil is usually moist from rain, and you can see the wildflowers grow right away.
- Summer: You can plant wildflower seeds in the summer, but the hot sun can dry out the soil and stress your seedlings. Summer is a good time to plant quick-growing annual wildflowers.
Western
- Fall, Winter: Plant in late fall (November–December) after the first frost. The seeds will overwinter and germinate in the spring. Fall planting is a good option for cooler climates and can give the seeds an early start in the spring.
- Spring: Plant in early spring (April–May) after the last frost when the soil temperature is consistently above 55°F. Spring is a popular time to plant because the soil is usually moist from rain, and you can see the wildflowers grow right away.
- Summer: You can plant wildflower seeds in the summer, but the hot sun can dry out the soil and stress your seedlings. Summer is a good time to plant quick-growing annual wildflowers.
Pacific Northwest
- Fall, Winter: Plant in late fall (November–December) after the first frost. The seeds will overwinter and germinate in the spring. Fall planting is a good option for cooler climates and can give the seeds an early start in the spring.
- Spring: Plant in early spring (April–May) after the last frost when the soil temperature is consistently above 55°F. Spring is a popular time to plant because the soil is usually moist from rain, and you can see the wildflowers grow right away.
- Summer: In cooler zones with higher elevation, you can plant wildflowers in late spring to early summer, after the risk of frost has passed. You can plant wildflower seeds in the summer, but the hot sun can dry out the soil and stress your seedlings. Summer is a good time to plant quick-growing annual wildflowers.
Instructions:
A smooth, weed and vegetation-free planting bed is important for good seed-soil contact and prompt germination. Avoid seeding more than the recommended rate, as overseeding can result in crowded conditions the first year and poor establishment of perennials. Cover seeds lightly to protect them from drying out during germination, and to prevent them from being eaten by birds. Consistent moisture is important for 4-6 weeks after planting. We recommend that a soil test be performed when soil quality is unknown.
The best time to plant in your area depends on the climate and rainfall patterns, as well as the species you are planting. In cool climates, plant annuals, perennials or mixtures of annuals and perennials during Spring, or early Summer. Best results will be obtained by planting on cleared ground. Remove existing vegetation to avoid competition from other plants.
Moisture
All seeds, including wildflowers, need ample moisture to germinate and to develop into healthy seedlings. Best results will be obtained by soaking the planted areas thoroughly and maintaining consistent moisture for 4-6 weeks, and then gradually reducing waterings. Plant in the spring or before periods of anticipated rainfall In non-irrigated situations. Watering may be reduced depending on the climate and rainfall after seedlings are established.
Weed Control
Weed control is the biggest problem facing plant establishment, and one which has no easy solution. Weed seeds are present in many situations and lie dormant, but viable, for long periods. A weedy area converted to wildflowers will have a large reservoir of weed seeds in the soil, ready to germinate when conditions are favorable. In most cases, it is advisable to consider weed control in two phases as part of site preparation prior to planting, and as an important component of the post-germination maintenance program.
Shipping Notes
- Free Standard Shipping on $100+ Orders to the USA.
- Except Preorder products are shipped in 48 hours.
- Delivery to the USA:
- Standard Shipping : 3-10 business days
- If time is of the essence, please consider selecting expedited delivery for faster service.
Exchange/Return Notes
- We offer a 30-day return/exchange service after receiving.
- Final sale items are not eligible for returns or exchanges.
- To process your return/exchange, please contact us at [email protected]
- Please click here for more details>>> Return & Exchange Policy